|
|
101 Forward
Control Land Rover pages
V8 engine swap
We
finally came to realise that the old engine was well
passed its best. Low oil pressure, nasty rumblings and
lots of stripped thread on manifolds etc all told us that
an engine swap was in order. We found a very good
replacement at a good price. It was a much later engine
from a Range Rover - fuel injected (but without the ECU)
and automatic - so I had to do a fair amount of swapping
around to prepare it ready for carbs and the manual
gearbox. The pictures and words below chronicle the
story!
What
the manual doesn't tell you.
Before I go on with the story, here are some
things that I learned by doing the job, but it doesn't
tell you in the 'green bible' (ie the Workshop Manual):
- Do NOT leave the vehicle
with the centre diff locked. It seems like a good
idea to lock the diff, because you'll be jacking,
but you'll need to turn a wheel to get the
splines engaged in the clutch on refitting and
having the diff locked means that you'll need to
lift two wheels (as I found).
- Take a careful (to the mm)
measurement of the vertical distance between the
front of the gearbox or bellhousing and a fixed
point on the vehicle - it'll help alignment when
you return the engine.
- The internal position of the
engine means that the final mating of engine and
gearbox really is a two-person job - one to push
and the other to steer. I did it alone, but it
took a long time and a lot of running around -
you'd be well advised to get a friend on that
day!
- Using some long (preferably
cross-head or Torx) screwdrivers through the
holes in the bellhousing and in to the engine
bolt holes greatly eases alignment. I used 5
(three on top and two at the bottom).
- The crane is a Clarke long
reach, 1 tonne jobby from Machine Mart - and the
jib was at full stretch when plucking the engine
out. You need something long to do this job!
- The manual offers two ways
of removing the engine - upwards and downwards. I
chose upwards, but I've already removed the
partition between the cab and the rear (remember
mine's an ambulance). It would have been nigh-on
impossible to do this alone upwards and with the
partition in place.
PART
ONE - acquisition and adaptation of replacement engine
 |
 |
 |
 |
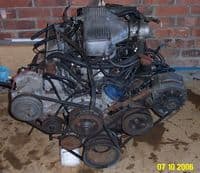
| The 'new'
engine arrives. 1986 3.5 litre V8 Efi (9.35:1
CR). Much of the gubbins on the front will have
to come off (power steering pump and air con
compressor for example). |
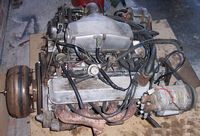
You can see
here that it was from an automatic Range Rover -
the torque converter is on the left of the
picture and the fuel injection system on top. |
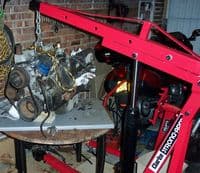
Up on to a
table to work on it easily. |
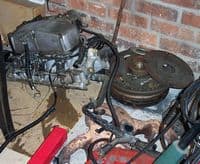
The fuel
injection system, manifolds, torque converter and
so on removed. (Holes stuffed with newspaper to
stop bits falling in to the cylinders.) |
 |
 |
|
|
| Here's the pile of bits
taken off - to be replaced with parts swapped
from the old unit. These'll go on to Ebay. |
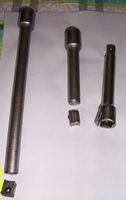
And these are the three
broken socket extension bars it took to remove
the front crankshaft bolt (necessary to take the
huge front pulley off). |
|
|
PART TWO - Removal of old
engine
 |
 |
 |
 |
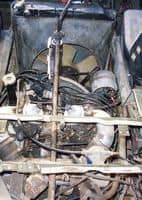
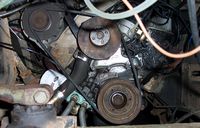
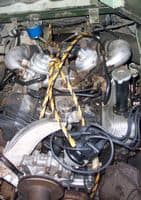
| The old
engine in situ and complete. |
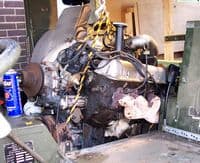
From the
front with the radiator and oil cooler removed. |
Gearlever,
alternator etc removed and sling attached. |
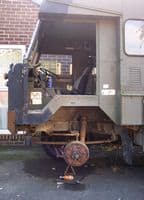
Front door
off, wheel off (to get the crane close enough in)
and seat removed. |
 |
 |
 |
 |
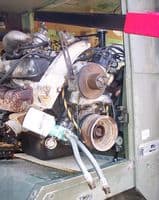
| Straight up and level with
the seat boxes. |
Then pulled out and rested
on the n/s seat box to allow for the sling to be
repositioned (the door opening is only JUST high
enough to allow the engine and crane boom
through). |
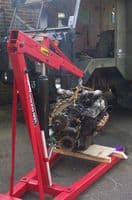
Once out, the engine can be
lowered safely to the ground. |
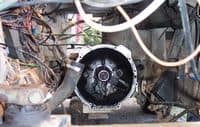
Leaving the gearbox in
place. |
PART THREE - Swapping and
reconditioning parts
 |
 |
 |
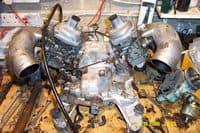 |
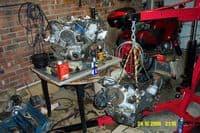
| Two engines more or less
side by side, to make the swapping of the parts
easier. The new one is on the table, already
partially stripped - see part 1 above. Now the
water pump is off, since it needs the earlier
version so that the pulleys line up. A new one is
in the box on the floor. |
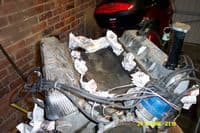
You may think you've already
seen this, but a closer look will reveal that the
rocker covers have been transferred across now
(necessary because the breather system is
difference on the carb engine from the Efi). |
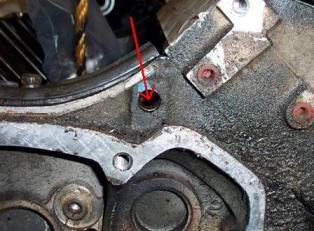
Speaking of the breather
system, the tube needed to be transferred from
the hole indicated above to the new engine - on
the new engine this was blanked off by a little
core plug (easily knocked out). |
Here is the inlet gubbins,
cleaned and throttle linkages reset. On the right
you can see the oil pump base from the old
engine, which needs to be transferred if the oil
cooler is retained. I wondered about this, but
decided to keep it (apart from anything else, the
oil temp gauge fits in the cooler, and I hate it
when gauges don't work). |
|
|
|
|
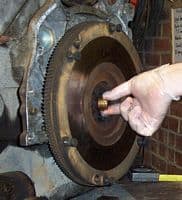
| The flywheel is now
installed, and here is the new spigot bearing
about to be inserted into the end of the
crankshaft. Since this engine came off an auto,
it didn't have the bearing. A new one costs 97p,
but it's essential. Yes, I had remembered to soak
it in oil for a couple of days, and I popped it
in the freezer overnight to shrink it a bit
before insertion. |
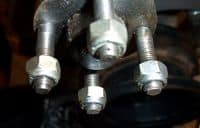
The studs on the new water
pump were a fraction too long, and jammed on the
viscous fan drive, so I ground the nose off the
studs (without touching the threads). The two
furthest away on this shot are done, the other
two are not - it only needed a mm or so. |
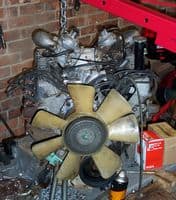
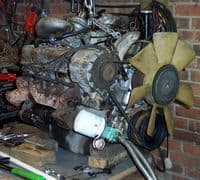
Getting back together nicely
now .. That's the fan back on (with viscous
coupling) for checking, and the inlet manifold. |
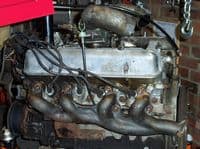
Here's the new exhaust
manifold that I had to fit since the old one fell
to pieces. |
|
|
|
|
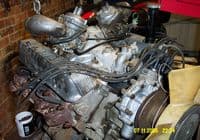
| And here you can see the old
exhaust manifold on the other side - still
intact. |
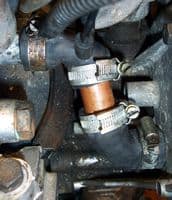
This
is the modification I had to make to the water
pump bypass hose. The EFI timing cover has a
slightly different position for the hose
connection, so the hose had to be lengthened by
the insertion of a bit of 22mm copper pipe. |
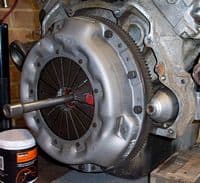
The final job on this phase
of the swap is fitting the new clutch. Here it
is, carefully aligned using the home-made clutch
alignment tool (made from one of the broken
1/2" socket drive bars with the addition of
some tape). |
And here is the completed
engine - all ancillaries (alternator, oil filter
etc etc) in place, and ready for Part 4 - putting
it back in! The alternator and fan are only on to
check that eveything is OK - the engine won't fit
back in with these in place. |
PART FOUR - replacement
|
|
|
|
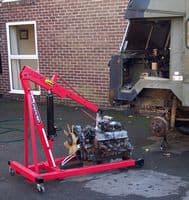
| Off we go
again - N/S door and wheel off and the new engine
comes in on the crane. |
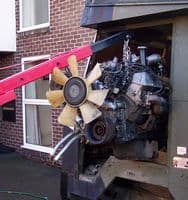
Getting it
back in through the door and resting it on the
seat box. If you're following this, remember that
the engine won't go in with the fan fitted - it's
only on here because it looks good for the
photos! |
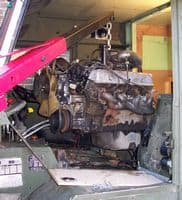
Swinging it round ready to
be dropped down. See the note below for detail of
this part. |
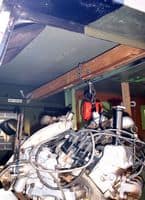
Then the load is taken up by
a hoist suspended from timber across the cab. |
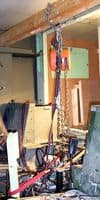
| Lining the
engine up with the gearbox is critical, and
achieving this at the same time as moving the
engine backwards with a crane that is at an angle
through the door proved impossible for me working
alone. This was the reason for using the internal
hoist to do the final drop in to position. |
|

|
|
 |
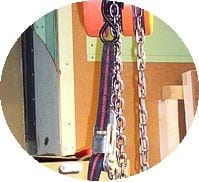
| This arrangement allowed
millimeter perfect alignment adjustments. The
round picture shows the red and black ratchet
strap on the front of the engine allowed it to be
tilted. |
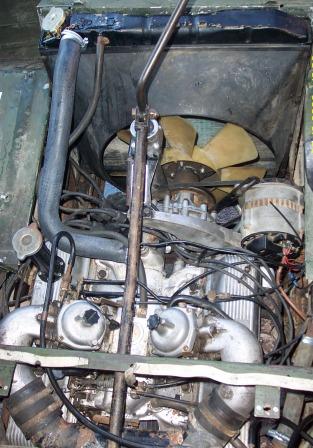
And here it the engine
"in". The red ratchet strap was used to
pull the engine in to place. |
Finally connected up and
running (this is running, although it doesn't
look it because the flash has "stopped"
the fan). |
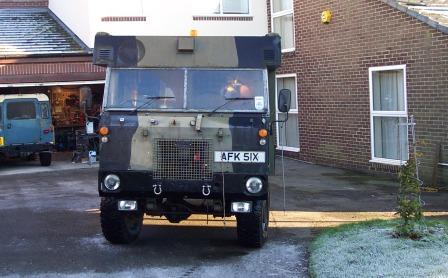
Proof of drivability! It
moves under its own power! |
Well, that's it. It finished and it
runs beautifully! It's been in for a tune it up and check
it over and they have pronounced it a good engine. The
tweaks they did to it have made it sound even nicer! AND
it has oil pressure - even when hot.
|


